
MSPaint Basics!
Using MSPaint's unique toolset to manage the single-layer workspace
Most tools in Microsoft™ Paint are quite intuitive on a basic level, but plenty have hidden functionality that isn't exactly clear to newer Painters. This article will primarily cover those uses for the Select and Eraser tools, as well as MSPaint's two-colour system. I call these tools 'basics' because they are extremely helpful for navigating MSPaint's single-layer workspace (which digital artists experienced with other art programs might find daunting)!
Understanding the Two-Colour System
To fully utilise the two-colour system in MSPaint, you should draw with a computer mouse or have a hotkey on your drawing tablet for right-clicking. From my experience, I recommend using a button on your stylus (if you have one).
Generally, the primary colour (‘Colour 1’) and the secondary colour (‘Colour 2’) are associated with left-clicking and right-clicking respectively. However, certain MSPaint tools interact with the two-colour system in particular ways. For example, the Eraser tool always uses the secondary colour, regardless of left- or right-clicking.

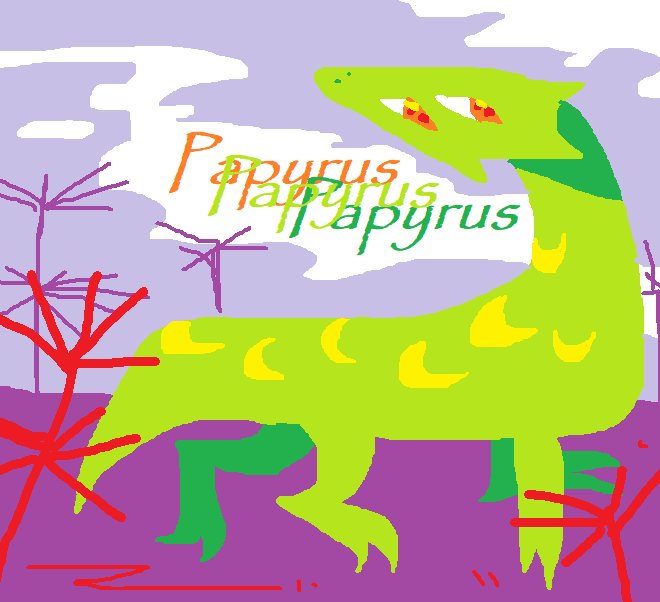
The Eraser tool, on the other hand, has a unique function. When right-clicking, the secondary colour is applied only to where the primary colour already exists. This effect is reminiscent of ‘clipping’ or ‘alpha lock’ functionality that digital artists might be familiar with – however, as MSPaint lacks transparency, clipping is based on colour instead (for the purposes of this demonstration, the colours are red and yellow, but any combination of colours will work).
This is one of my favourite MSPaint features! It has plenty of practical uses. It gets even better when you learn this next trick.
 Using Ctrl+(+/-), you can increment the size of your brush by one pixel, up to a maximum of 50 pixels. Combining this with the Eraser tool, you can easily fill in large swathes of colour, draw precise patterns, and erase sketches without affecting line art.
 Next up, the Select tool. It can be used to click-and-drag parts of your artwork around. It uses the secondary colour to fill in where the original selction was, and doesn’t interact with the primary colour. The Select tool also has an additional setting – ‘transparent selection’ mode, which is accessed from the dropdown menu. When this mode is active, the secondary colour will become transparent when selected. This can help work in ‘layers’ when there is no traditional layer functionality in MSPaint, by drawing elements separately and dragging them into the desired spot.
 Another hidden feature of the Select tool is that holding Shift while clicking-and-dragging creates a strange extrusion effect. This is also responsive to the speed of your dragging and works both with and without transparent selection mode, depending on the effect desired. Here is an example of an artwork which utilises this as a central feature! (Content warning: artistic nudity, gender dysphoria, self-harm.)
These techniques can greatly enhance your MSPaint workflow and help you create more sophisticated artwork! They're key to implementing the more advanced techniques that my later blog posts will cover, so make sure to practice them!